
When we lived in Tennessee our kitchen colors were blue and white but when we moved to this house in Ohio the kitchen was decorated in green and I had to quickly adapt since we moved when October turns to November and the weather can be a mixed bag around here. Turns out that I adapted so well that I ended up making it my own by adding touches inspired by a certain keepsake.
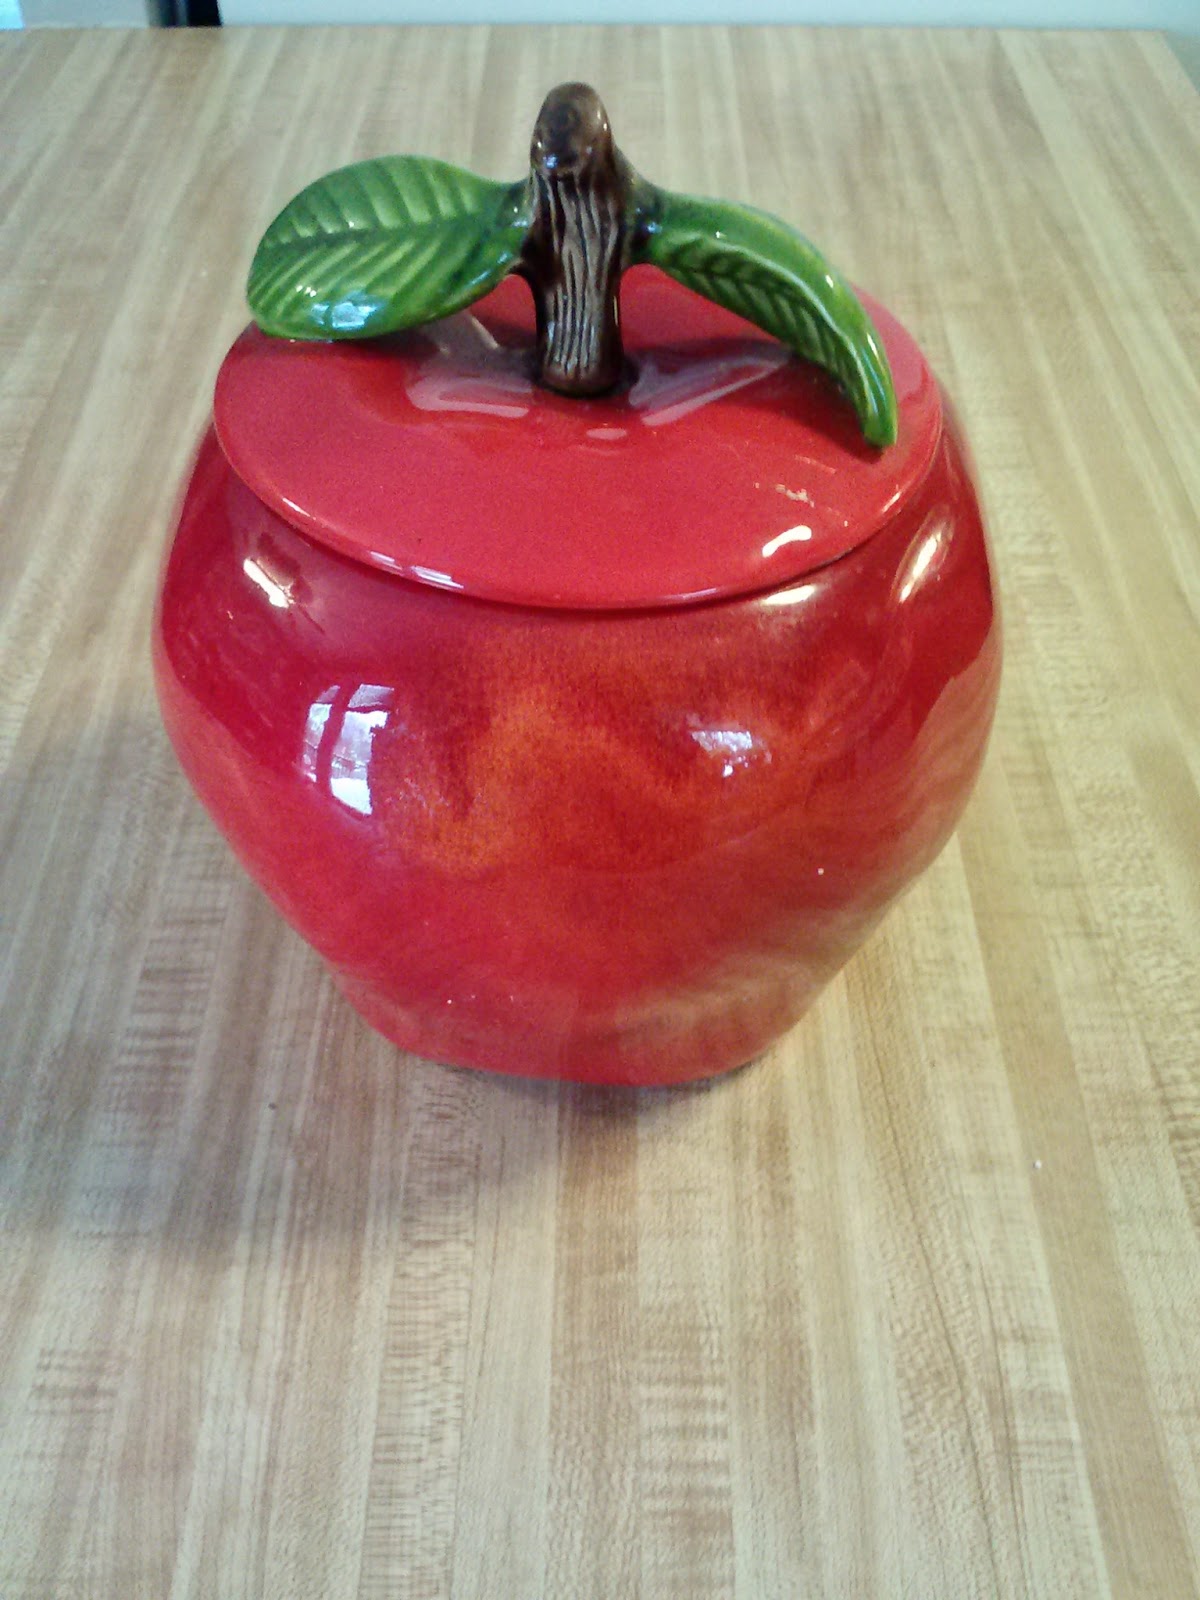 |
| This cookie jar is now 35 years old |
When I was a young bride-to-be my grandma gave me this apple cookie jar as a shower gift. I could never bring myself to part with it if for no other reason than it was given to me by the only grandparent that lived long enough to see me walk down the aisle.
 |
| Canisters and place settings were the first items to be added in the apple theme |
The real adaptation was on the wall behind the sink. It lacked a backsplash and was covered with marred and dirty checkered green wallpaper. After looking it over and determining that it would take more time and money to get the paper off than we had to spend on a Kitchen Makeover (which is on our list of home remodeling projects under the heading of Someday When Money Is Not An Object) it was determined that an inexpensive, quick fix was needed. We decided faux tile was the answer. I painted this behind my kitchen sink and under the existing light fixture (which will be changed in that "someday" makeover):

Supplies:
- Porter Paint in a semi-gloss finish to match the color we painted the rest of the kitchen (which happened to be a tan color)
- 4 colors of Apple Barrel paint (red, green, white, and a slate color to imitate grout)
- rags, sponges, and mini paintbrush
- painter's masking tape
- a ruler
- self-adhesive decals
- Plaid Clear Acrylic Sealer Gloss (aerosol spray)
It took several days to do this project, mainly because tiles next to each other could not be masked at the same time. One tile had to dry thoroughly before it could be masked over to allow its neighbor to be painted.
First we painted the wall with the Porter Paint and let it dry for several days. It looked so much better already! Next I drew the grid lines with a straight-edged ruler remembering to add space for the "grout."
The "tiles" are standard 4.25 inch squares bordered by standard-sized edge piece "tiles" (not shown). I masked the first tiles I could paint being careful that they were not tiles next to each other. I used rags and sponges to get the effect I wanted. If I made a mistake I painted over it with the Porter Paint and left that tile unmasked until every other tile was painted (I only messed up one tile). This took several days.
When all of the "tiles" were painted and had thoroughly dried I again masked each tile in order to paint the "grout" between them. Once everything, tiles and grout, was dry I sprayed several coats of sealer over them, allowing plenty of time between coats. This took a couple of days.
The faux tile backsplash works as well as a real one. Splashes and drips wipe up quickly and it still looks nice after several years.
SOMEDAY will eventually come and then we can decide on something more permanent to fill the wall behind the sink, but for now the temporary faux tile continues to function as hoped and coordinates well with the keepsake cookie jar, which will never be changed.
I like your "Tile" wall. I think it's very creative.
ReplyDeleteI must ask- What were you possibly waiting by the phone for? ;)